
How professional decorators prepare walls before painting
The most visible part of decorating is the final coat of paint, but the quality of the finish is usually decided much earlier. Preparation determines whether repairs…
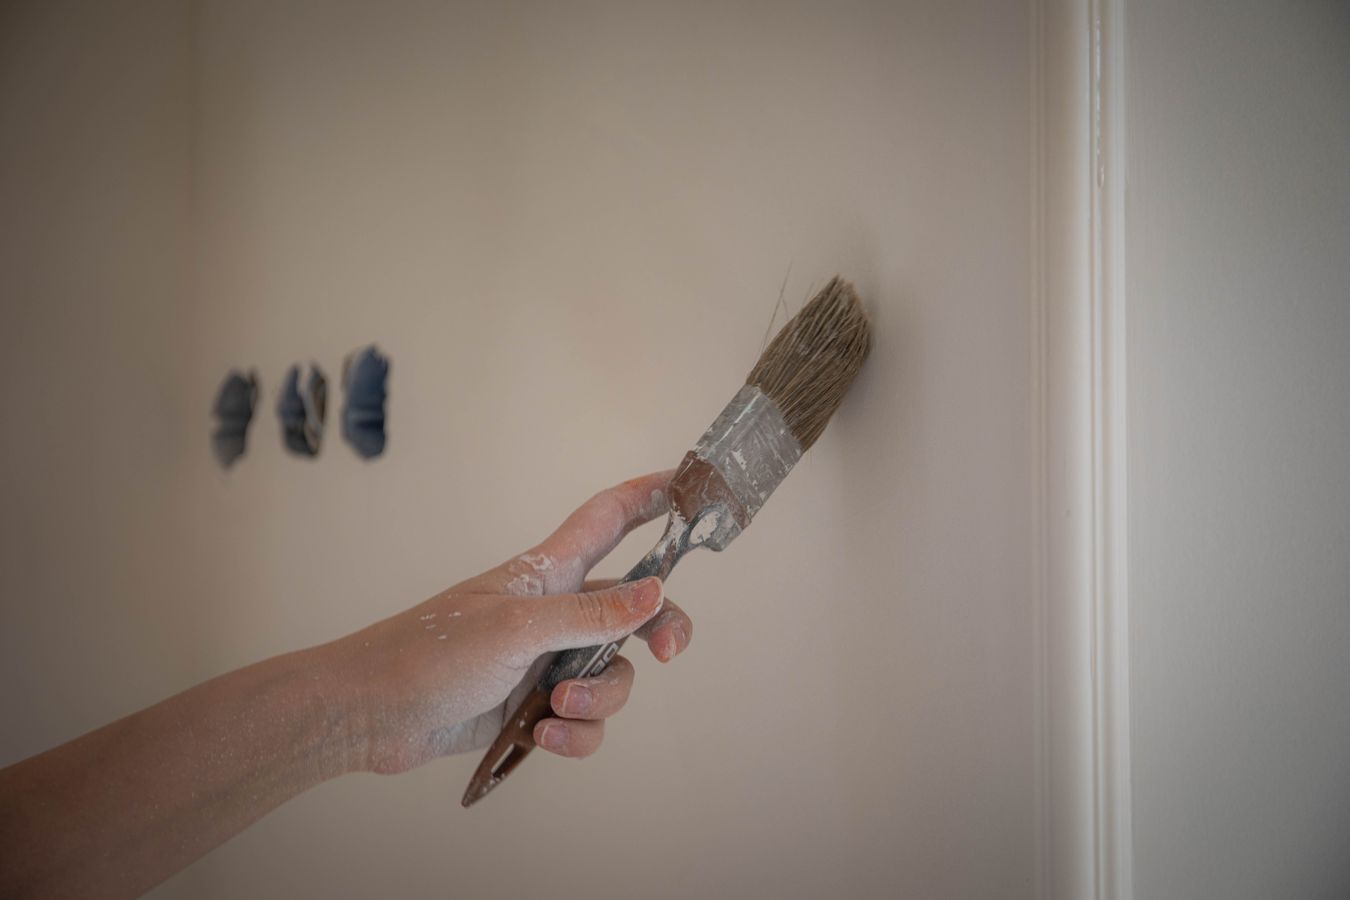
The most visible part of decorating is the final coat of paint, but the quality of the finish is usually decided much earlier. Preparation determines whether repairs disappear, whether edges stay crisp, whether the coating bonds properly and whether old stains reappear through the new colour. A wall can look reasonably good before work begins and still need several stages of cleaning, filling, sanding and priming before it is ready for paint. Professional preparation is not about making every wall perfectly new; it is about identifying the defects that will affect the finished surface and dealing with them in the correct order. This guide explains what that process normally involves and why skipping one apparently small stage can create a problem that becomes much harder to fix after the room has been painted.
Inspect the room before touching the walls
A good decorating job begins with an inspection rather than with a roller. The decorator needs to understand what the wall is made from, what coating is already on it and what defects are present. Fresh plaster, old emulsion, lining paper, previously painted wallpaper, bare timber and repaired plasterboard all behave differently. Cracks around doors may be simple movement in the finish or may indicate a joint that needs a more considered repair. Brown staining may be historic and dry, or it may be evidence of an active leak. The correct preparation depends on the cause, so diagnosis comes before filling.
Lighting is useful during this stage. Looking across a wall with light travelling along the surface reveals dents, proud filler, trowel marks and roller texture that are difficult to see from directly in front. Strong side light is particularly important on feature walls and long corridors because those are the areas where imperfections often become obvious after decoration. Marking defects before sanding creates a clear plan and prevents the room from turning into a sequence of random small repairs.
The room itself also affects the preparation method. Occupied homes need dust control, careful protection and a logical working sequence so that the rest of the property remains usable. Heavy furniture may need moving away from walls, floors need covering, and sockets, hardware or fragile fittings may need protection or removal. Preparation is not only about the wall; it includes controlling the environment around the work so that dust, drips and damage do not create additional problems.
At this point it is also worth agreeing the expected standard. An older property can retain some character and still look professionally decorated, while a newly plastered high-specification room may require a much flatter surface. The amount of filling and sanding should match the condition of the building and the intended finish. Higher-sheen coatings and dark colours generally reveal more defects, so they may justify more detailed surface preparation than a forgiving matt in a low-light room.
Key points
- Identify the substrate and existing coating before choosing fillers or primers.
- Check cracks and stains for an underlying cause instead of covering them immediately.
- Use side lighting to find dents, ridges and texture that normal room light hides.
- Agree the expected finish standard before deciding how far surface correction should go.
Clean, strip and stabilise before filling
Filling over dirt, grease or loose material creates a weak repair. Kitchens often have invisible grease deposits, hallways collect hand marks and older rooms can have residues from smoke, polish or cleaning products. Surfaces that need it should be cleaned with a suitable method and allowed to dry before further work. Flaking paint needs to be removed back to a sound edge. Loose wallpaper, failing caulk and unstable filler should also come off rather than being buried beneath another layer.
Old wallpaper deserves particular attention. If the new scheme requires painted walls, stripping is often only the first stage. Adhesive can remain on the plaster and interfere with paint if it is not removed or sealed appropriately. The stripping process can also reveal damaged plaster, old repairs or areas where the surface has become friable. Rushing from wallpaper removal straight to emulsion can therefore lead to bubbling, patchy absorption or rough texture that could have been corrected before painting.
Cracks need to be opened and repaired in a way that gives the filler a sound edge to grip. Simply smearing filler over a hairline crack can leave a paper-thin layer that fails as soon as normal movement returns. Wider or recurring cracks may need reinforcement or a different repair method. Gaps at junctions, such as between skirting and wall, are often better treated with a flexible decorator’s caulk than a hard filler. Each material has a job; using one product for every defect is rarely the best approach.
Stabilising weak surfaces is equally important. Powdery plaster, chalky coatings and areas damaged by previous moisture can require a suitable primer or stabilising treatment. The purpose is to create a sound base for the next coat, not merely to make the wall look uniform. If the substrate is still breaking down beneath the paint, a beautiful final coat will not stop the failure. Preparation works from the wall outward, ensuring each layer has something reliable to bond to.
Windmill note
If paint is peeling, do not stop scraping at the first neat-looking edge. Keep checking until the remaining coating is genuinely sound; otherwise the new system is only as strong as the failing layer underneath.
Filling and sanding should make repairs disappear
The aim of filling is not to leave a patch that is merely smooth to the fingertip. The repair needs to follow the plane of the wall so that it does not create a hollow or a raised island when light crosses the surface. Deep defects are usually better built up in controlled stages than overfilled in one thick application. Wider repairs benefit from a broad feathered edge because this spreads the transition over a larger area and makes it less visible after painting.
Once the filler has dried, sanding refines the shape of the repair and removes roughness from the surrounding surface. The abrasive grade should be appropriate for the material and stage of work. Very coarse paper can leave scratches that show through paint, while very fine paper can be inefficient when significant material needs removing. Sanding blocks or mechanical extraction sanders can help keep large areas flat. On detailed woodwork, profiles and edges need a lighter touch so that crisp mouldings are not rounded away.
Dust removal after sanding is not optional. Fine dust can sit on the surface and reduce adhesion or create a gritty finish in the first coat. Vacuum extraction during sanding helps, but walls, ledges, skirting and floors still need cleaning before paint is applied. This is one reason professional preparation can look slow: the visible repair may take minutes, while controlling and removing the dust around it takes much longer. The benefit appears in the smoothness of the final coat and the cleanliness of the room.
Repairs should be checked again under strong light before priming. Filler can shrink slightly, tiny pinholes may appear and an edge that felt smooth can still cast a visible shadow. Correcting those issues now is quick. Correcting them after two finish coats means sanding through new paint, spot priming again and rebuilding the finish. A short inspection between preparation stages saves time overall because it prevents defects from travelling forward into later coats.
Key points
- Feather filler beyond the defect so the repair follows the plane of the wall.
- Use abrasives appropriate to the filler, paint and stage of preparation.
- Control dust during sanding and remove residue before priming.
- Inspect dried repairs under side light before moving to the coating stage.
Primers and stain blockers solve specific problems
Primer is often discussed as though every wall automatically needs a separate primer coat. In reality, the correct system depends on the substrate and the finish product. Bare or highly porous surfaces may need sealing so that the topcoat dries evenly. Patched areas can absorb paint differently from the surrounding wall and may benefit from spot priming. Glossy or difficult surfaces can require a bonding primer. The purpose should always be clear: improve adhesion, control absorption, isolate contamination or provide a suitable base for the next coating.
Stains are a good example of why ordinary emulsion is not always enough. Water marks, smoke staining, knots in timber and some inks can migrate through repeated coats of standard paint. Painting over them until they disappear while wet may look successful, only for the stain to return as the coating dries. A suitable blocking product isolates the contamination before the decorative coats are applied. The cause of any water stain must, of course, be dry and resolved first; a blocker is not a substitute for fixing a leak.
New plaster also needs the correct first coat. The surface must be sufficiently dry and the initial coating should be compatible with porous plaster. Applying a dense finish too soon can trap moisture or produce poor adhesion. Manufacturer guidance should be followed for the actual product being used rather than relying on a single rule for every paint system. Modern coatings vary, and preparation should match the product rather than force every product into an old habit.
After priming, the wall may reveal defects that were hard to see when the surface was patchy. This is a useful inspection stage. A uniform base makes small pinholes, sanding scratches and ridges easier to identify. Minor corrections can then be made and spot primed before the finish coats. Treating primer as part of the quality-control process, rather than as a box to tick, produces a more consistent result.
Windmill note
A stain blocker should be chosen for the type of contamination. If the underlying moisture problem is still active, stop and solve that first rather than sealing over the evidence.
Final checks before the first full coat
Immediately before painting, the room should look almost uneventful. Surfaces should be sound, dry, clean and dust free. Filled areas should blend into the wall, caulk lines should be neat and properly cured, and any primers should be dry. Masking should protect only what needs protection; over-reliance on tape can still lead to poor lines if the underlying edge is rough. Hardware that has been removed should be stored safely so that reassembly is straightforward.
It is also worth checking colour and sheen one final time. Preparation effort should not be wasted by discovering after the first coat that the chosen product is wrong for the room. Confirm the finish for walls, ceilings and woodwork, and make sure enough material is available to complete each continuous area without avoidable batch changes. If several tins are needed, combining them where practical can reduce tiny variations between batches.
The first full coat should then be treated as another inspection opportunity. It will reveal whether the wall absorbs evenly and whether any repairs remain visible. Small issues can still be corrected between coats. What matters is that the decorator does not blindly continue because the schedule says “two coats”. Coverage, colour change, substrate condition and product specification determine what the surface actually needs.
Preparation can represent a large proportion of the total labour on a decorating job, especially in older rooms. That is not wasted time. A smooth, stable base makes the application stage faster, improves the appearance of the finish and reduces the chance of premature peeling, flashing or visible repairs. When comparing decorating quotations, it is therefore useful to ask what preparation is included rather than comparing only the number of paint coats. The detail beneath the finish is what makes the finish look deliberate.
Key points
- Confirm surfaces are dry, sound, clean and dust free before applying finish paint.
- Check the exact colour and sheen for walls, ceilings and trim.
- Use the first coat as an inspection layer and correct visible defects before continuing.
- Judge a decorating specification by the preparation included, not only by the number of topcoats.
Final word
What to remember
Professional wall preparation is a sequence: inspect, protect, clean, remove unstable material, repair, sand, control dust, prime where necessary and inspect again. Each stage reduces uncertainty for the next one. The process can feel disproportionate when the final act of rolling paint onto the wall is so quick, but it is precisely what allows that final application to look simple. If you want a finish that remains crisp under real daylight and everyday use, preparation is where most of the quality is created. Before work starts, agree which defects are included in the preparation and which would require additional repair. That keeps the quotation meaningful and prevents assumptions about badly damaged plaster, old coatings or hidden movement. A good decorating specification should describe the preparation standard as clearly as it describes the final paint colour.