
Should you paint over old paint? When preparation matters
Painting over an existing colour can be perfectly acceptable, but only when the surface underneath is sound. The phrase ‘just paint over it’ makes the job sound simp…
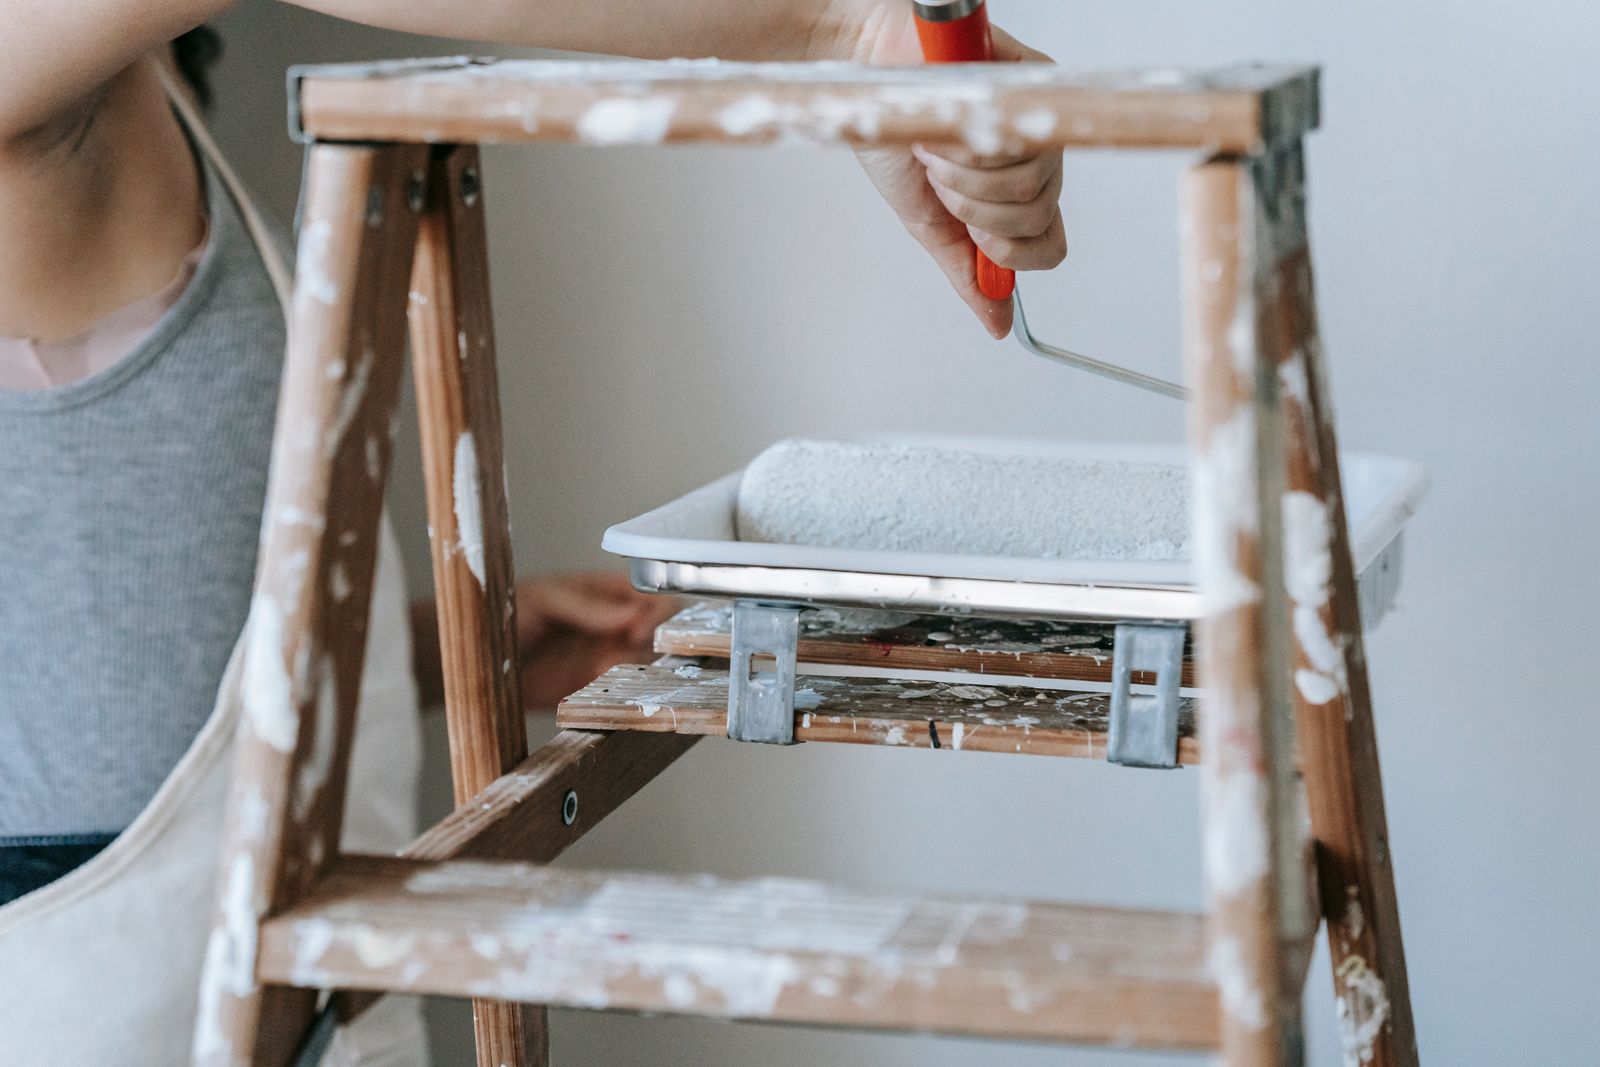
Painting over an existing colour can be perfectly acceptable, but only when the surface underneath is sound. The phrase ‘just paint over it’ makes the job sound simpler than it really is because the new coating can only perform as well as the paint, filler, plaster and preparation beneath it. A wall may look clean from a distance while still carrying grease, loose edges, glossy patches, old filler ridges or previous coatings that have poor adhesion. None of those problems are improved by adding another coat. Good decorators therefore spend time deciding what can stay, what needs cleaning or keying, what must be repaired and what should be removed before the first new coat is opened. This guide explains when old paint can be retained, when it needs more serious preparation, how primers fit into the process and why a little extra work at the beginning usually produces a flatter, more dependable finish at the end.
Start by deciding whether the existing coating is actually sound
The first question is not whether the old colour is attractive; it is whether the coating is firmly attached. A sound wall should feel stable when you run a hand over it and should not shed powder, lift at edges or flake around cracks and previous repairs. Small marks are normal, but widespread blistering, peeling or chalkiness suggest that the new paint would be relying on a weak layer. In that situation, simply rolling over the surface can hide the evidence for a short time without solving the reason the original coating failed.
Check the obvious stress points carefully. Corners, window reveals, radiator areas, bathrooms, kitchens and the edges of old filler patches often show problems before the centre of a wall does. Look across the surface in side light rather than only straight on. Raking light makes ridges, dents, roller texture and poorly feathered repairs easier to see. A decorator will often mark these areas before sanding so the preparation is systematic rather than based on what happens to catch the eye later.
Adhesion can also vary across one wall. An older property may have several generations of paint, local repairs and different substrates beneath the same colour. A patch may have been painted directly over bare filler while the surrounding wall has multiple sound coats. Another area may contain old distemper, adhesive residue or a very glossy finish. Treating the whole room as though every square metre is identical can therefore create inconsistent results. The condition of the substrate matters more than the apparent uniformity of the colour.
Where failure is active, remove loose material back to a firm edge instead of feathering over a moving boundary. The transition then needs to be sanded smooth, repaired if necessary and primed appropriately before the finish coats. This takes longer than covering the visible defect, but it gives the repair a stable perimeter. The aim is to leave no weak paint trapped beneath the new system that can later pull away and take the fresh coating with it.
Key points
- Check for flaking, blistering, powdering and loose edges.
- Inspect corners, reveals, previous repairs and moisture-prone areas closely.
- Use side light to find dents, ridges and texture that normal room light hides.
- Remove failed coating back to a genuinely stable edge before rebuilding the finish.
Windmill note
If a small area peels when lightly scraped, keep checking beyond the visible edge. The weak area is often larger than the first flake suggests.
Clean first because paint does not reliably bond to contamination
Old walls collect more than dust. Cooking vapour, hand marks, nicotine residue, furniture polish, cleaning products and airborne grime can all leave films that interfere with adhesion or cause uneven drying. Kitchens and stairways are particularly vulnerable because surfaces are touched and exposed to changing air conditions every day. Painting directly over this contamination can produce patchy sheen, fisheyes, poor coverage or premature lifting. Cleaning is therefore part of preparation rather than an optional housekeeping step.
The cleaning method should match the surface and the contamination. Heavy scrubbing is not always sensible because a weak matt coating can soften or polish if it is attacked aggressively. The objective is to remove grease and dirt without saturating the wall or damaging paint that is otherwise sound. After cleaning, the surface needs enough time to dry fully. Trapping moisture beneath the next coat creates another variable in a system that should be as stable and predictable as possible.
Dust from sanding is another common source of trouble. Modern extraction can remove a large amount of material at the point of sanding, but fine residue can still remain in corners, on ledges and across broad surfaces. Vacuuming and wiping as appropriate gives primers and topcoats direct contact with the prepared surface. It also prevents loose dust from collecting in rollers and brushes, where it can create drag, small lumps and rough texture in the finish.
Do not assume that a wall is clean because it looks clean. Clear residues are often invisible until a new coating behaves differently over them. Areas around light switches, kitchen worktops and doorways deserve particular attention. Good preparation is often made up of unglamorous steps like degreasing, dust removal and drying, but those are exactly the steps that allow the visible finish to look consistent and remain attached.
Key points
- Degrease high-contact and cooking areas before sanding and painting.
- Allow washed surfaces to dry completely before coating.
- Vacuum sanding dust from walls, edges, skirtings and ledges.
- Give extra attention to switches, doors, kitchens and other frequently touched areas.
Sand glossy or uneven paint so the new coating has a better surface
A very smooth or glossy coating can be difficult for another layer to grip. Light abrasion creates a fine mechanical key and removes nibs, runs and raised edges at the same time. The purpose is not necessarily to strip every wall back to plaster. On a stable surface, controlled sanding can preserve the sound coating while changing its texture enough for the next stage. The abrasive grade and tool should be chosen around the existing finish so the wall is keyed without being gouged unnecessarily.
Sanding also improves appearance. Every ridge around an old repair, heavy roller edge or drip can cast a shadow once fresh paint is applied. New paint does not level these defects in the way filler or plaster does; it generally follows the shape underneath. Flattening high spots and feathering repaired areas before coating gives the new finish a more continuous plane. This becomes especially important with strong side lighting, deep colours and paints with more sheen, all of which reveal surface variation more clearly.
Repairs should be allowed to dry and then sanded beyond the immediate centre of the filler. A patch that is smooth in the middle but has a sharp perimeter will still show. Feathering creates a gradual transition from repair to existing surface. Afterward, remove the dust and check again under side light. It is common to find a second small hollow or pinhole once the first repair is flattened, and dealing with it before priming is quicker than discovering it after the first finish coat.
Woodwork needs the same principle but usually a different approach. Doors, frames and skirtings collect harder old paint, chips and impact damage. Abrasion should remove loose edges, reduce prominent brush marks and dull the existing sheen without rounding detailed mouldings. Corners and profiles may need hand sanding where a machine cannot reach safely. Preparation is about control: enough work to create a dependable base, but not unnecessary damage to sound material.
Windmill note
After sanding a repair, move a work light along the wall rather than staring straight at it. Shadows reveal edges that your fingertips may miss.
Use primer for a reason, not automatically on every painted wall
Primer is valuable when it solves a specific problem. Bare plaster, filler, exposed timber, stains, difficult old coatings and large colour changes can all need a dedicated first coat, but a clean, sound, compatible painted wall may not require a separate full coat of primer. Using the right product in the right place is more important than adding stages by habit. A decorator assesses absorption, adhesion, staining and substrate before deciding what preparation system makes sense.
Spot priming repaired areas can prevent them from flashing through the finish. Fresh filler often absorbs paint differently from the surrounding wall, so a local primer or suitable first coat helps equalise the surface. Bare patches created by sanding may need the same treatment. Without this step, the repaired area can remain visible as a dull or differently textured patch even after the colour appears covered. The issue is not just opacity; it is the way the surface accepts and dries the coating.
Stains need a different approach. Water marks, smoke staining and some knots or tannins can migrate through ordinary emulsion or topcoat. Repeatedly covering them with more finish paint may waste time because the contaminant continues to show. A suitable stain-blocking primer isolates the problem before decoration continues. However, the source of a water stain must also be resolved. Sealing the mark while a leak is still active turns a diagnostic warning into a cosmetic cover-up.
Compatibility matters on unusual old finishes. If the previous coating is very hard, shiny, fragile or otherwise uncertain, a test area can be worthwhile. The aim is to create a system in which every layer is attached to the next. Primer cannot make loose paint underneath become sound, so removal and stabilisation come first. Think of primer as a bridge between prepared surfaces and the finish coat, not as a substitute for preparation itself.
Key points
- Prime bare or highly absorbent repairs where needed.
- Use stain-blocking products for confirmed staining after the cause is resolved.
- Check compatibility when coating hard, glossy or unusual old finishes.
- Do not expect primer to stabilise paint that is already loose underneath.
Know when stripping back is more sensible than another repaint
There is a point where preserving old layers creates more work than removing them. Repeated flaking, severe cracking, incompatible coatings or heavy historic texture can make local repair endless. If defects continue across most of a surface, stripping back to a more stable layer may produce a better base and a more predictable finish. The decision depends on the substrate, age of the coatings, extent of failure and the result expected. It is not automatically necessary, but it should remain an option rather than forcing another coat onto a system that has already failed.
Old wallpaper adhesive can create similar problems. A wall may have been papered, stripped and painted without the adhesive being cleaned properly. Residue can react with moisture from new water-based paint or create inconsistent suction. If the wall feels sticky when dampened, shows repeated crazing or has obvious adhesive deposits, more preparation is needed than a quick sand. Removing contamination and sealing correctly can prevent the same defects from returning through the new decoration.
Very heavy texture also deserves a realistic discussion. Paint will change colour and sheen, but it will not make rough plaster flat. If a client wants a contemporary smooth finish and the wall contains deep roller texture, old runs and multiple poorly finished repairs, the scope may need to include extensive filling, lining or plaster work rather than normal repaint preparation. Defining that expectation before work begins prevents the decorator and homeowner from using the word ‘paint’ to describe two very different levels of finish.
The best approach is proportionate. A mostly sound room with a few defects should not be stripped unnecessarily, while a failing room should not be endlessly patched to save one preparation stage. Assess the whole surface, agree the expected standard and choose the least invasive method that still produces a dependable base. That is the practical difference between decorating over old paint and simply hiding old paint for a short time.
A good repaint is really a sequence of checks
Once preparation is complete, the painting itself becomes more straightforward. The surface should be dry, clean, stable, suitably keyed and repaired. Primed areas should have been dealt with and dust removed. At that point the first finish coat is doing the job it was designed to do rather than being asked to seal stains, bind loose paint, fill dents and hide contamination all at once. Separating those functions creates a more controlled result and makes any remaining issue easier to identify.
The first coat can reveal defects that were difficult to see on a patchwork surface. Small pinholes, scratches and missed edges may become obvious once the wall is one colour. A decorator may carry out a light de-nib or final minor fill between coats where the specification allows. This is not evidence that preparation failed; it is part of refining the finish. What matters is that defects are corrected before the final coat rather than simply buried under additional paint.
Drying time also matters. Coats that feel dry to the touch are not always ready for hard use or aggressive recoating. Product instructions, room temperature, airflow and humidity influence the process. Rushing can create drag, lifting or uneven sheen, especially on trim paints and in cool or humid rooms. A professional sequence builds time into the job instead of treating drying as an inconvenience between visible stages.
The final check should include both appearance and practical details: clean edges, consistent coverage, repaired surfaces, sockets and fittings reinstated correctly, protection removed carefully and the room left tidy. The quality of a repaint is not just whether the new colour is on the wall. It is whether the surface underneath was judged correctly and whether each preparation decision supported a finish that can remain presentable through normal use.
Windmill note
If the first coat exposes a small defect, fix it before the final coat. One extra ten-minute repair is easier than living with a shadow or ridge for years.
Final word
What to remember
Yes, you can often paint over old paint, but only after establishing that the existing surface is clean, stable and compatible with the new coating. Sound walls may need little more than cleaning, light abrasion, local repairs and sensible spot priming. Failing, contaminated or heavily textured surfaces can require much more. The important point is that new paint is a finish, not a repair system for every problem underneath it. Time spent testing adhesion, flattening defects, controlling dust and using primer for specific reasons is what allows the final coats to look consistent and stay attached. If you are comparing decorating quotes, ask what preparation is included rather than comparing only the number of coats. Two decorators can both promise ‘two coats of paint’ while allowing very different amounts of work to make the surface ready for them.