
Why paint peels, bubbles or flakes and what to do next
Peeling, bubbling and flaking paint are symptoms rather than one single defect. The visible failure can come from moisture, contamination, weak old paint, poor prepa…
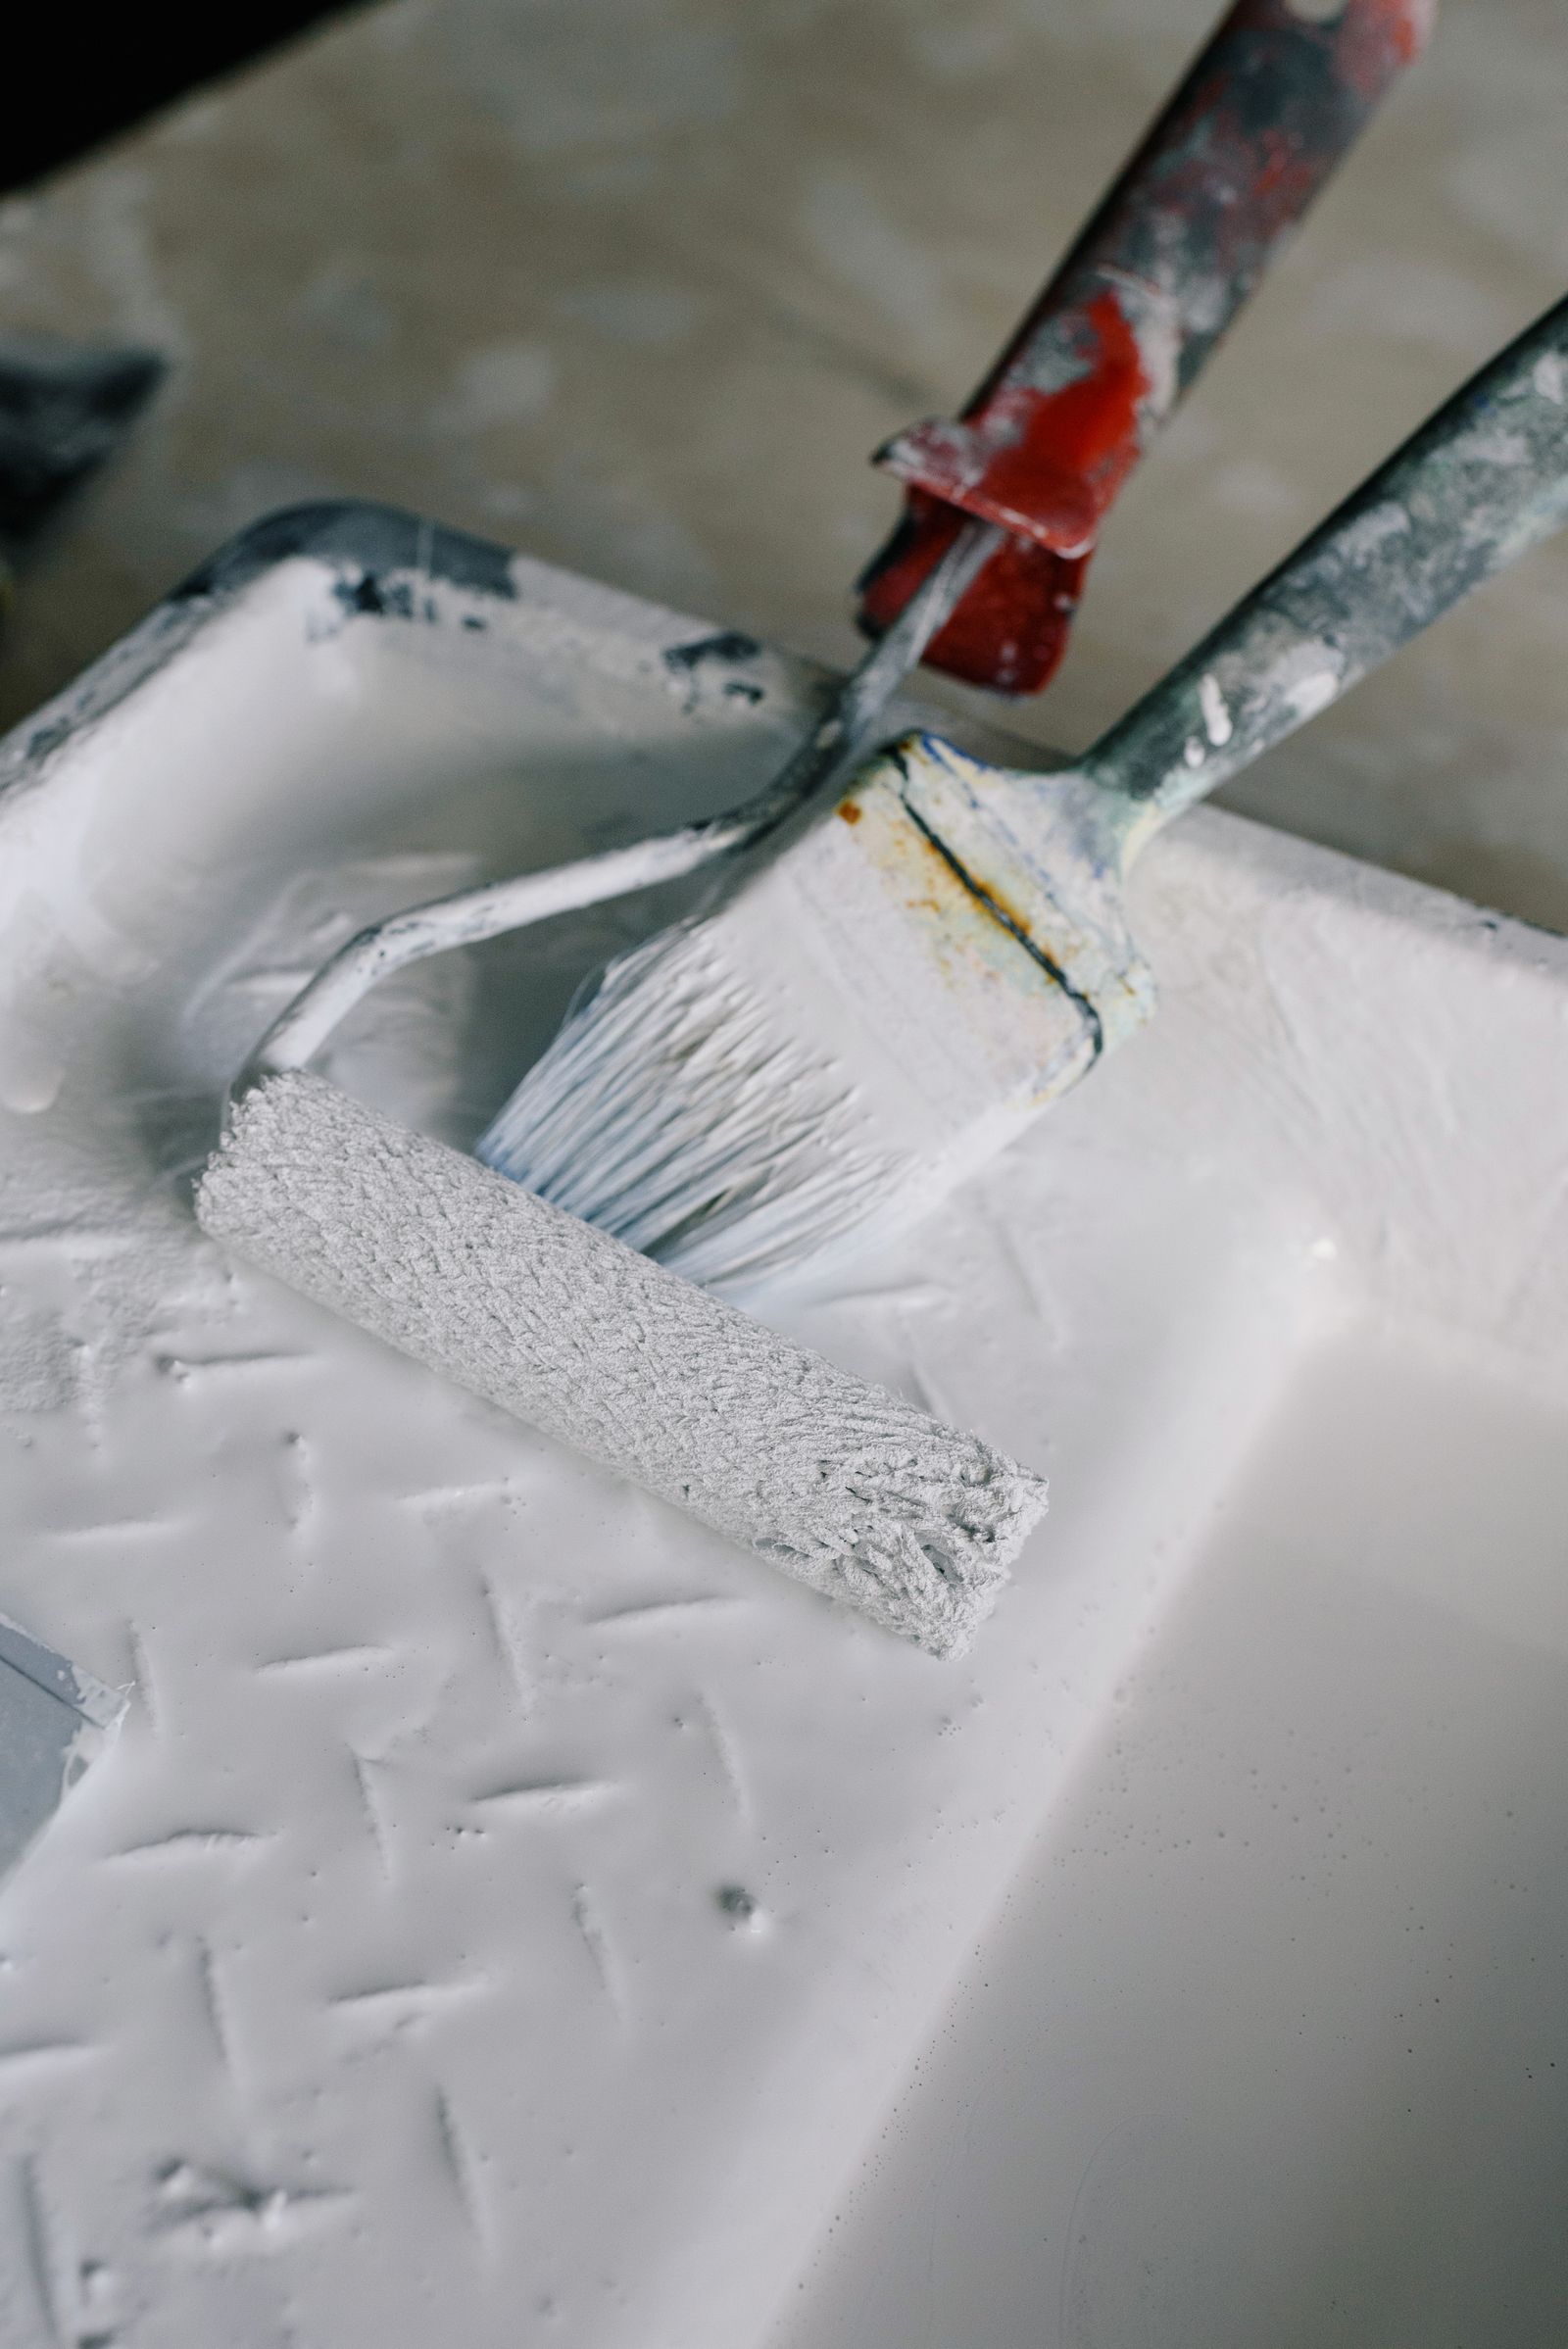
Peeling, bubbling and flaking paint are symptoms rather than one single defect. The visible failure can come from moisture, contamination, weak old paint, poor preparation, incompatible coatings, painting before a surface is dry or simply movement and age in the material underneath. That is why repainting the damaged patch without understanding the cause often leads to the same problem returning. A decorator normally starts by looking at where the failure occurs, what the substrate is, whether there is moisture or staining and how easily the surrounding paint releases. The repair can then be matched to the cause instead of being based on appearance alone. This guide explains the common patterns, the safe observations a homeowner can make and the preparation stages that usually sit between identifying a paint failure and applying a new finish. It also covers when the problem should be investigated as a building or moisture issue rather than treated as ordinary decorating maintenance.
Read the pattern of the failure before removing it
Where paint fails often gives the first useful clue. Peeling around a window reveal, bathroom ceiling or external wall raises different questions from flaking on a dry internal door. Bubbles close to a recent leak point towards moisture, while widespread lifting over a glossy old coating may suggest poor adhesion. Photograph the defect before scraping it away and note whether it changes after rain, showers, heating or cold weather. Those observations help distinguish a decorating problem from a condition affecting the building fabric.
The shape of the loose edge matters too. Large sheets that release cleanly can indicate that one coating never bonded well to the layer beneath it. Fine cracking and small flakes may relate to an old brittle paint system or repeated coats building over movement. A blister can contain moisture, air or weak layers. The appearance alone does not prove the cause, but it guides the inspection. Removing everything immediately can destroy useful evidence about which layer actually separated.
Check whether the failure is isolated or repeated. One small chip beside a door handle may simply be impact damage. The same shape appearing on many doors suggests a coating or preparation issue. A single crack above a doorway may be normal minor movement, while matching cracks across several walls could indicate a broader substrate problem. Decoration is the visible skin of the room, so it often shows movement or moisture that originates somewhere else.
Homeowners should avoid forcing open electrical covers, damp cavities or unknown building materials just to investigate. Safe observation is valuable: note smells, visible staining, condensation, recent leaks and whether the surface feels damp. Technical investigation can then be carried out by the appropriate trade if needed. The goal is to identify enough context to choose the right next step, not to turn a cosmetic defect into a more serious disturbance.
Key points
- Photograph the failure before scraping or cleaning it.
- Note whether rain, showers, heating or cold weather change the defect.
- Compare isolated impact damage with repeated failure across similar surfaces.
- Escalate suspected leaks, persistent damp or substrate movement before redecorating.
Windmill note
Keep one loose flake if the failure is unusual. The layers on its back can sometimes show whether the new paint separated from old paint or whether several coats came away together.
Moisture and condensation must be dealt with before cosmetic repair
Water is one of the most important causes to rule out. A leaking pipe, roof defect, failed seal or damp substrate can push moisture through the decorative surface and weaken adhesion. Painting over a damp area may look improved for a short period, but the moisture still needs somewhere to go. It can stain, blister or lift the new coating again. A decorator should not be expected to solve an active plumbing or roofing problem with primer and paint.
Condensation is different from a direct leak but can still damage finishes. Bathrooms, kitchens and poorly ventilated cold corners may repeatedly collect surface moisture. Mould can develop and paint can soften or discolour. Improving extraction, airflow and heating patterns is part of the solution. Specialist coatings may help in appropriate locations, but they do not remove the need to control the moisture load. If a room stays wet after normal use, the cause should be addressed before treating the decoration as a standalone issue.
Drying time after a leak is easy to underestimate. The visible surface may feel dry while plaster or masonry deeper inside still contains excess moisture. Sealing too early can trap that condition and cause new marks. The required drying period depends on the material, extent of wetting, ventilation and environment. Moisture measurement may be useful on significant incidents. A stain blocker belongs after the area is sufficiently dry and the source has been repaired, not as the first response to active water.
External walls can also experience rain penetration, failed pointing or defective gutters. Internal flaking near the same location should therefore be considered in context. If the defect becomes worse after prolonged wet weather, record that pattern. Sometimes the correct decorating decision is to wait. Delaying finish coats until the building defect is repaired is better than producing a fresh wall that immediately becomes evidence of the same unresolved problem.
Weak old paint and contamination can make new coats release
A new coating can bond strongly to the paint directly beneath it while that older layer is only weakly attached to the wall. When stress develops, both layers come away together. This is why adhesion has to be considered through the whole paint system, not just at the newest interface. Repeated historic decoration can hide weak layers until the surface becomes heavier, wetter during repainting or mechanically disturbed by sanding and rollers.
Contamination causes a different failure. Grease, polish, soap residue, nicotine and even some cleaning products can create a barrier between surface and coating. Paint may bead, crawl, remain soft or later peel from these areas. Kitchens, bathrooms, handrails and doors deserve careful cleaning before abrasion. If contamination is severe, a suitable cleaning and priming system may be required. The important point is that paint needs contact with a stable substrate rather than a film of material that was never intended to be coated.
Powdery or chalking surfaces are also problematic because the new paint bonds to loose dust instead of a firm base. Some old coatings naturally become friable with age. Brushing, vacuuming, washing or stabilising may be needed depending on the material. Simply applying a thick coat can temporarily bind the top layer while leaving the deeper weakness untouched. The correct treatment depends on identifying what the surface actually is, particularly in older properties with uncertain decorating history.
When loose paint is removed, feather the remaining edges rather than leaving a sharp step. Fill where necessary, sand flat and remove dust before priming or finishing. The repair should transition smoothly into the stable coating. If every time you feather an edge another section releases, the failed area is probably larger than first thought. At that point it may be more efficient to remove further back rather than create a patchwork of weak boundaries.
Windmill note
If paint keeps lifting beyond the visible patch with very little effort, stop treating it as a tiny local repair. Reassess how much of the old coating is genuinely sound.
Incompatible coatings and rushed drying can create their own defects
Not every paint system can be applied directly over every previous finish. Very glossy coatings may need abrasion and an adhesion-promoting primer. Flexible or specialist products can react differently from standard emulsions and trim paints. Old oil-based finishes, unknown sealers and certain historical coatings deserve more care than a modern wall that has been repeatedly decorated with compatible products. When the background is uncertain, a small test area can reveal poor adhesion before the whole room is committed.
Recoating too quickly can also cause problems. Paint dries in stages: the surface may become touch-dry while material underneath is still releasing water or solvent and developing its final film. Applying another heavy coat too soon can extend drying, create dragging or trap a softer layer. Temperature and humidity matter, so the printed minimum recoat time is not a guarantee that every room in every season is ready at the same moment. Cooler surfaces and poor airflow generally slow the process.
Application thickness matters as well. Trying to achieve full coverage by overloading a roller can leave a film that dries unevenly and creates texture. Conversely, spreading paint too thin can reduce opacity and make the decorator overwork the surface. Using the recommended method, roller nap and coverage rate gives the coating a better chance to level and cure as intended. Paint is engineered to perform within a range, not to compensate for skipped preparation through sheer thickness.
Mixing products without checking the system can also create inconsistent sheen or adhesion. Primer, undercoat and finish should be compatible with each other and the substrate. This is particularly important on woodwork, metal and difficult stains. A professional approach treats the coating system as a sequence. Each layer has a job, and the next layer should only be applied when the previous one has created the correct base.
Key points
- Abrade or prime hard glossy coatings where the product system requires it.
- Respect realistic drying and recoat times, especially in cool or humid rooms.
- Apply paint at a controlled thickness rather than using heavy coats to hide preparation.
- Keep primers, undercoats and finishes compatible with the substrate and each other.
Repair the cause first, then rebuild the surface in controlled stages
Once the likely cause has been corrected, remove loose material until the perimeter is stable. The exposed surface may need time to dry, cleaning, filling, sanding and a specific primer. Do not rush straight from scraping to topcoat. The repair is more dependable when each condition is dealt with separately: moisture resolved, loose coating removed, shape restored, suction or staining controlled, then finish paint applied. This also makes it easier to diagnose any remaining issue because the process is not hiding several unknowns under one coat.
Filler should repair the shape of the surface rather than bridge over active loose paint. Apply it to a stable background, allow it to dry and sand it flush with the surrounding plane. Deep defects may need staged filling. On ceilings and strong side-lit walls, spend extra time feathering the perimeter because even a shallow ridge can remain visible after decoration. Remove all dust before priming; fine powder is another weak layer if it is left behind.
Stain blocking should be localised to the problem it is designed to solve, unless the product specification calls for a broader coat. Once dry and correctly primed, the repaired area can receive finish coats along with the rest of the surface. Depending on colour, sheen and age of the existing paint, touching in only the patch may remain visible. Recoating the complete wall or ceiling often gives a more uniform appearance because it removes differences in sheen and weathering around the repair.
After the job, keep an eye on the area rather than assuming every defect is permanently solved on day one. If the original cause was corrected, the repair should remain stable. If staining, bubbling or dampness returns, treat that as new evidence. Repeated failure in the same place is a strong reason to investigate beyond decoration rather than continuing a cycle of filling, sealing and repainting.
Know when a decorator is the right trade and when another specialist is needed
Decorators are well placed to assess coating condition, preparation, filling, sanding, primers and finish systems. They can often identify patterns that suggest moisture or movement because they see how surfaces fail. However, the underlying repair may belong to another trade. Active plumbing leaks, roof ingress, electrical problems, structural movement and significant damp investigation should be addressed by the appropriate specialist before final decoration is expected to last.
This division of responsibility protects everyone. A homeowner gets the cause repaired properly, and the decorator is not being asked to guarantee paint over an unstable background. On coordinated projects, the trades can sequence the work: source repaired, drying period allowed, substrate made good and decoration completed last. That order may feel slower than immediately covering the defect, but it avoids repeating the same room after the underlying issue appears through the new finish.
When requesting a quotation, show all known failure areas rather than cleaning or hiding them first. Explain how long they have been present and whether there was a previous repair. If possible, provide photographs from before any leak was fixed. This history helps the decorator price the likely preparation and decide whether further investigation is needed before committing to a finish standard.
A paint failure does not automatically mean the previous decorator used bad paint, and it does not automatically mean the building has a major defect. There are many possible causes. The most useful response is evidence-based: observe the pattern, check moisture and substrate condition, remove failed material carefully and rebuild the coating system only after the cause has been addressed. That approach produces a repair rather than a temporary disguise.
Windmill note
For recurring bubbles or staining, keep a dated photo after each significant weather event or shower-heavy period. Patterns over time are more useful than a single snapshot.
Final word
What to remember
Peeling, bubbling and flaking paint should be treated as clues. Moisture, contamination, weak historic coatings, poor preparation, incompatible products and rushed drying can all produce similar-looking failures, so the repair begins with diagnosis rather than another coat. Record the pattern, correct any leak or damp source, remove loose material to stable edges, rebuild the surface and use primers only for the problem they are intended to solve. Where the cause belongs to roofing, plumbing, building or another specialist trade, complete that work before final decoration. The result may take longer than a quick patch, but it gives the new paint a stable surface and a realistic chance of staying that way.